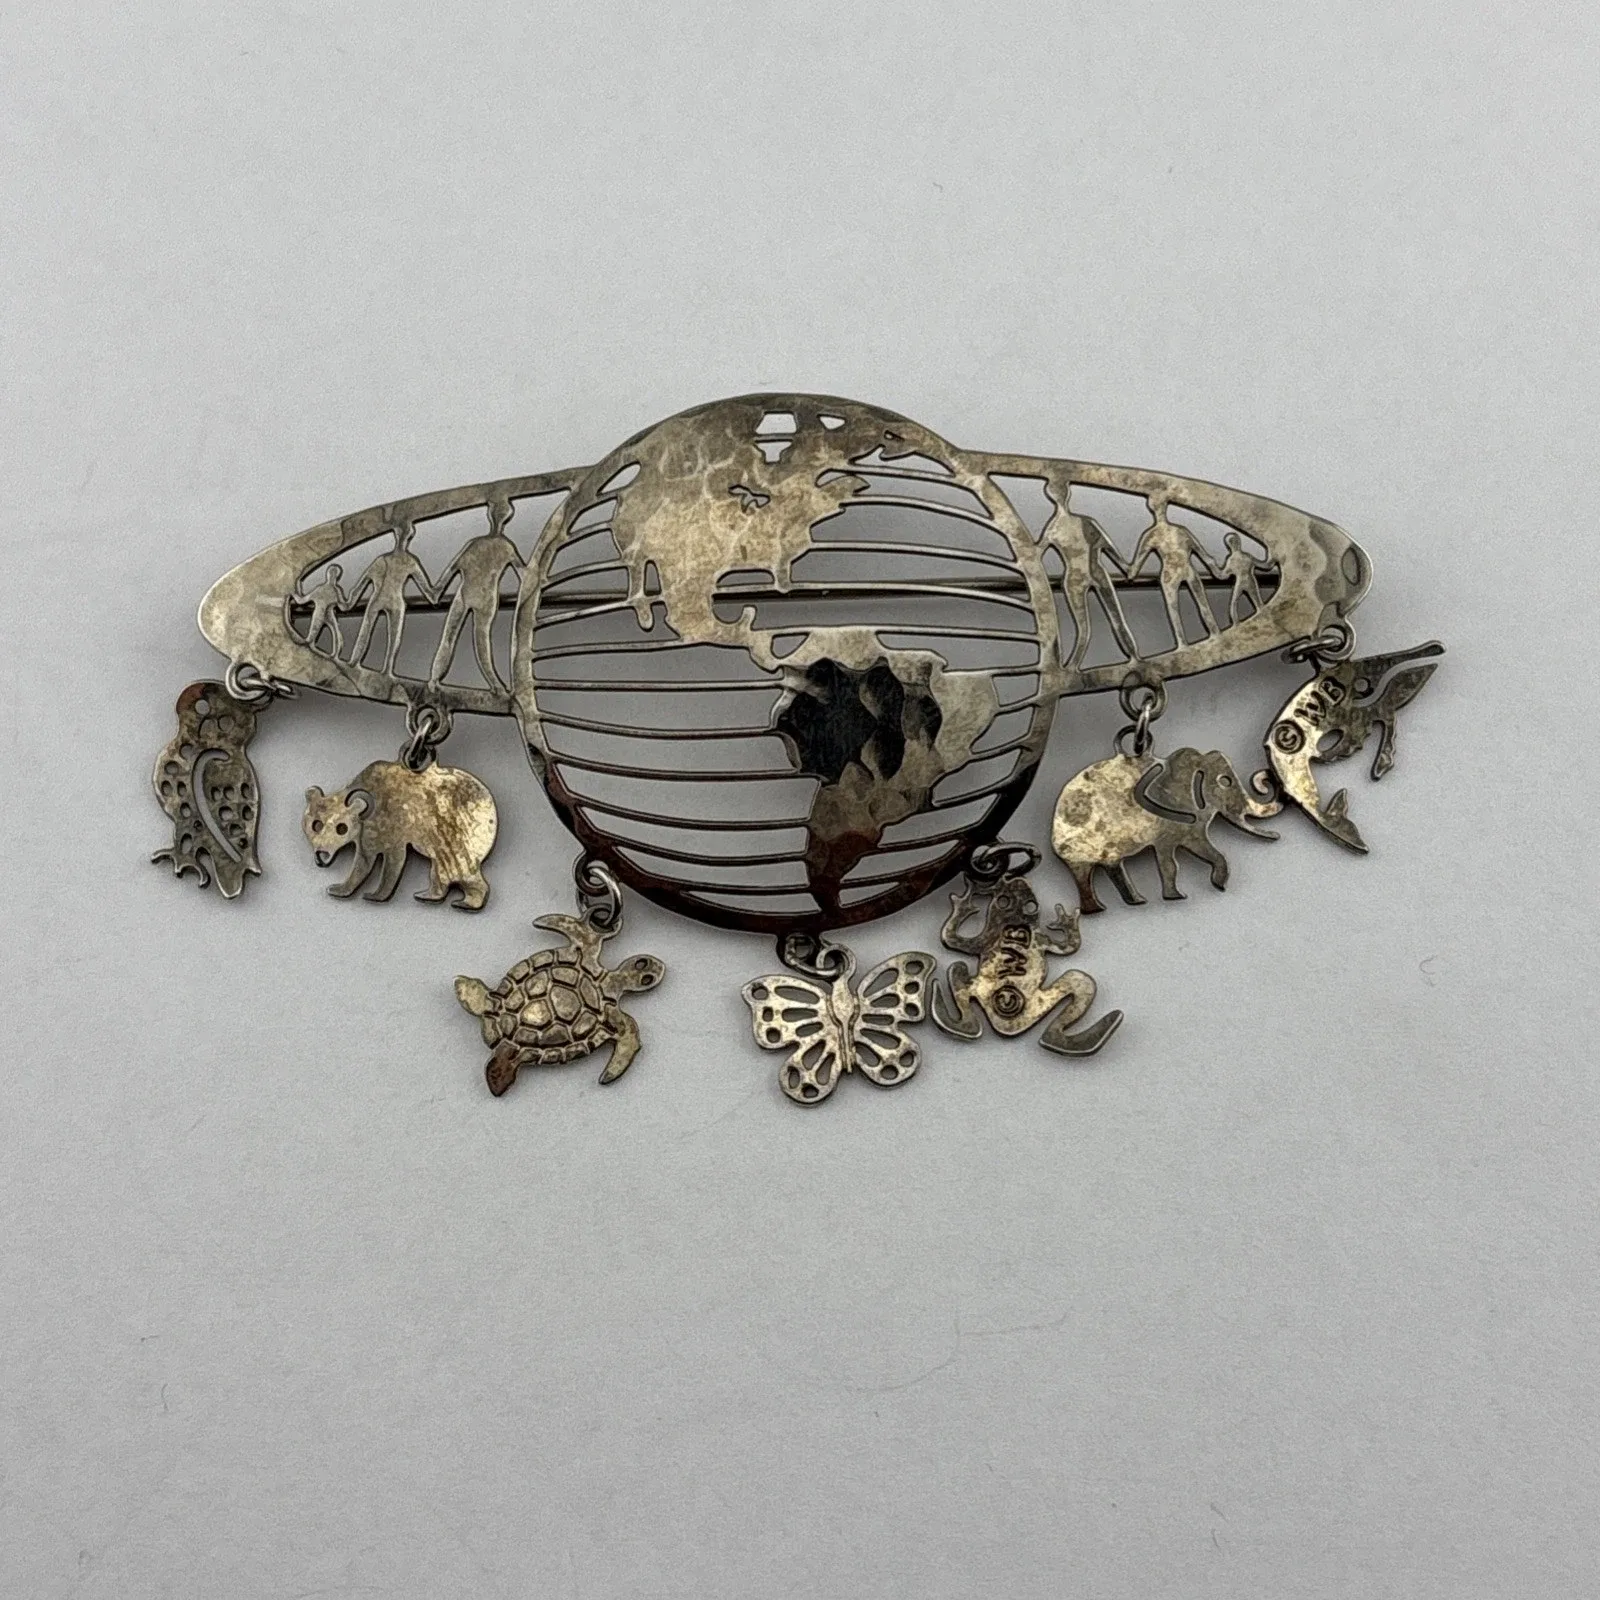
How to Clean Vintage Costume Jewelry Without Destroying Finishes
October 7, 2026
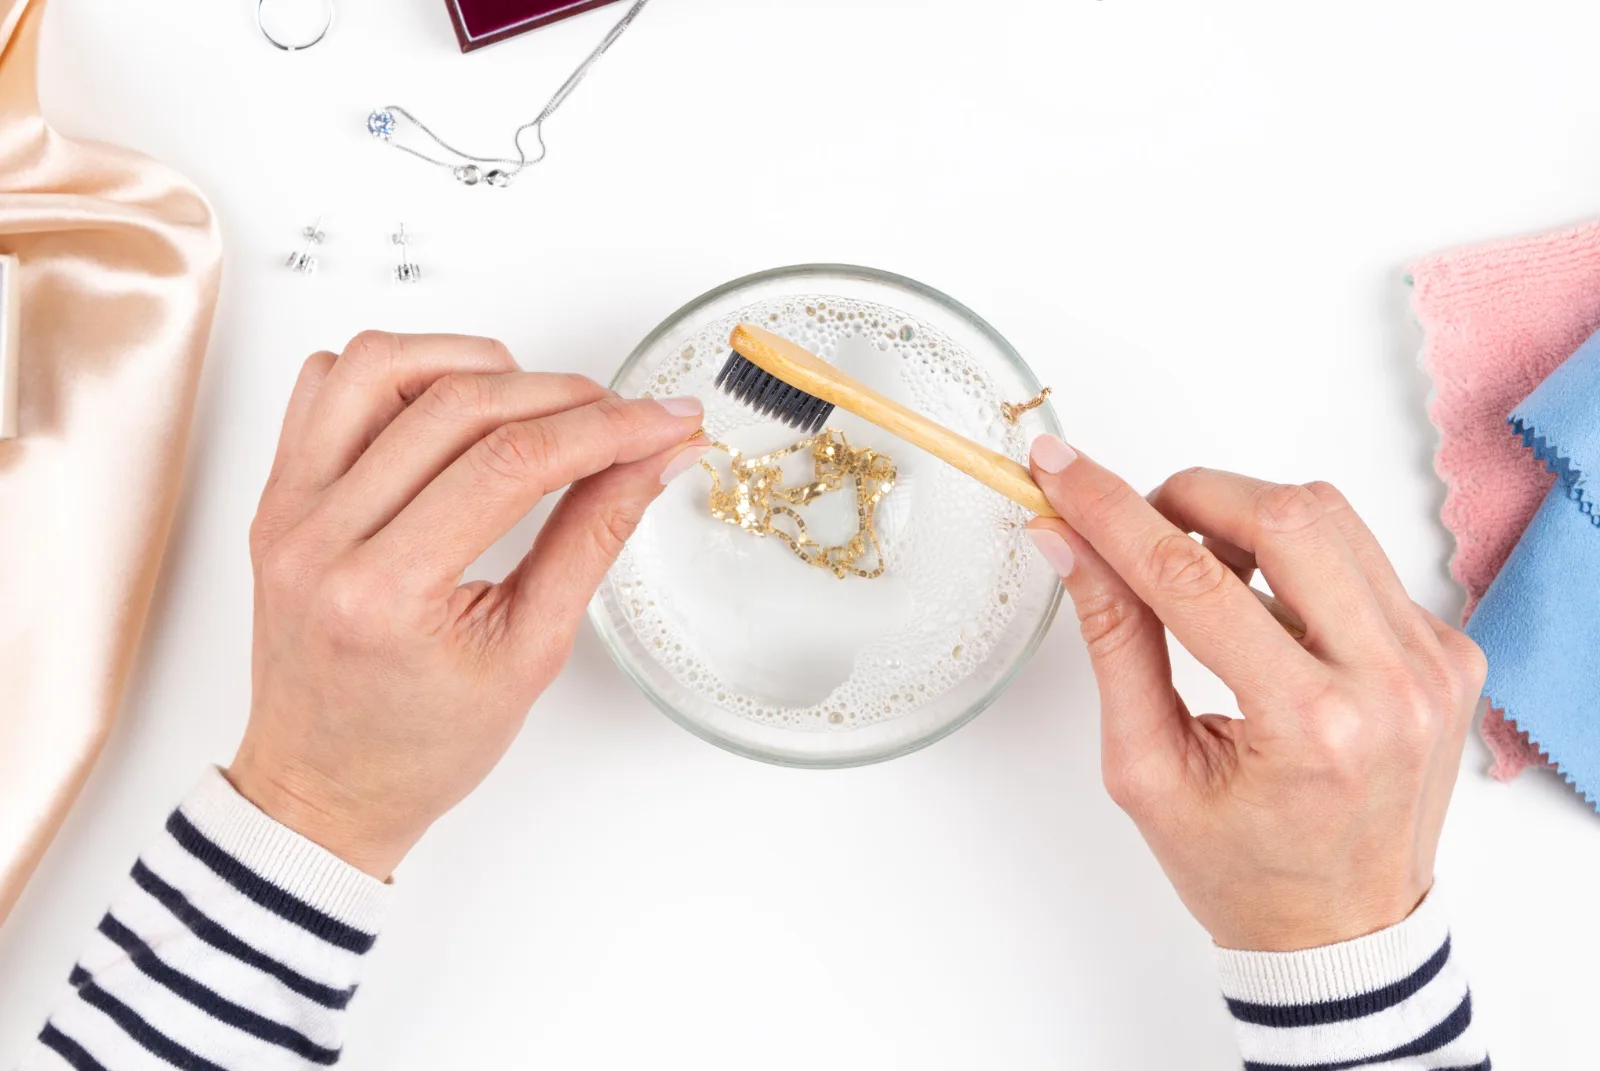
Guidance from the bench on identifying and safely restoring heavy gold plating, rhodium plating, and solid sterling silver costume jewelry without dulling planished facets or stripping delicate plated layers.
How to Clean Your Thrifted Vintage Costume Jewelry Without Ruining It
Collecting vintage etched jewelry means eventually running into pieces that have spent decades sitting in humid jewelry boxes or catching hairspray mist. You find a rare design you've been hunting for months, but the planished surface is dull, the plating looks uneven, or the ear wires are heavily tarnished.
The instinct—especially if you're eager to display or list the piece—is to grab a heavy-duty metal polish, a tube of Wright's, or a rotary polishing wheel and go to town.
Don't do it.
When you're dealing with delicate chemical-etched metal and planished micro-facets, aggressive cleaning is the fastest way to turn a piece of wearable art into a ruined, smooth piece of sheet metal. Here is how to restore each finish safely.
Universal Base Method (All Finishes)
Ninety percent of "tarnish" or dullness on estate pieces is actually just decades of accumulated skin oils, hairspray, and dust sitting on top of the metal.
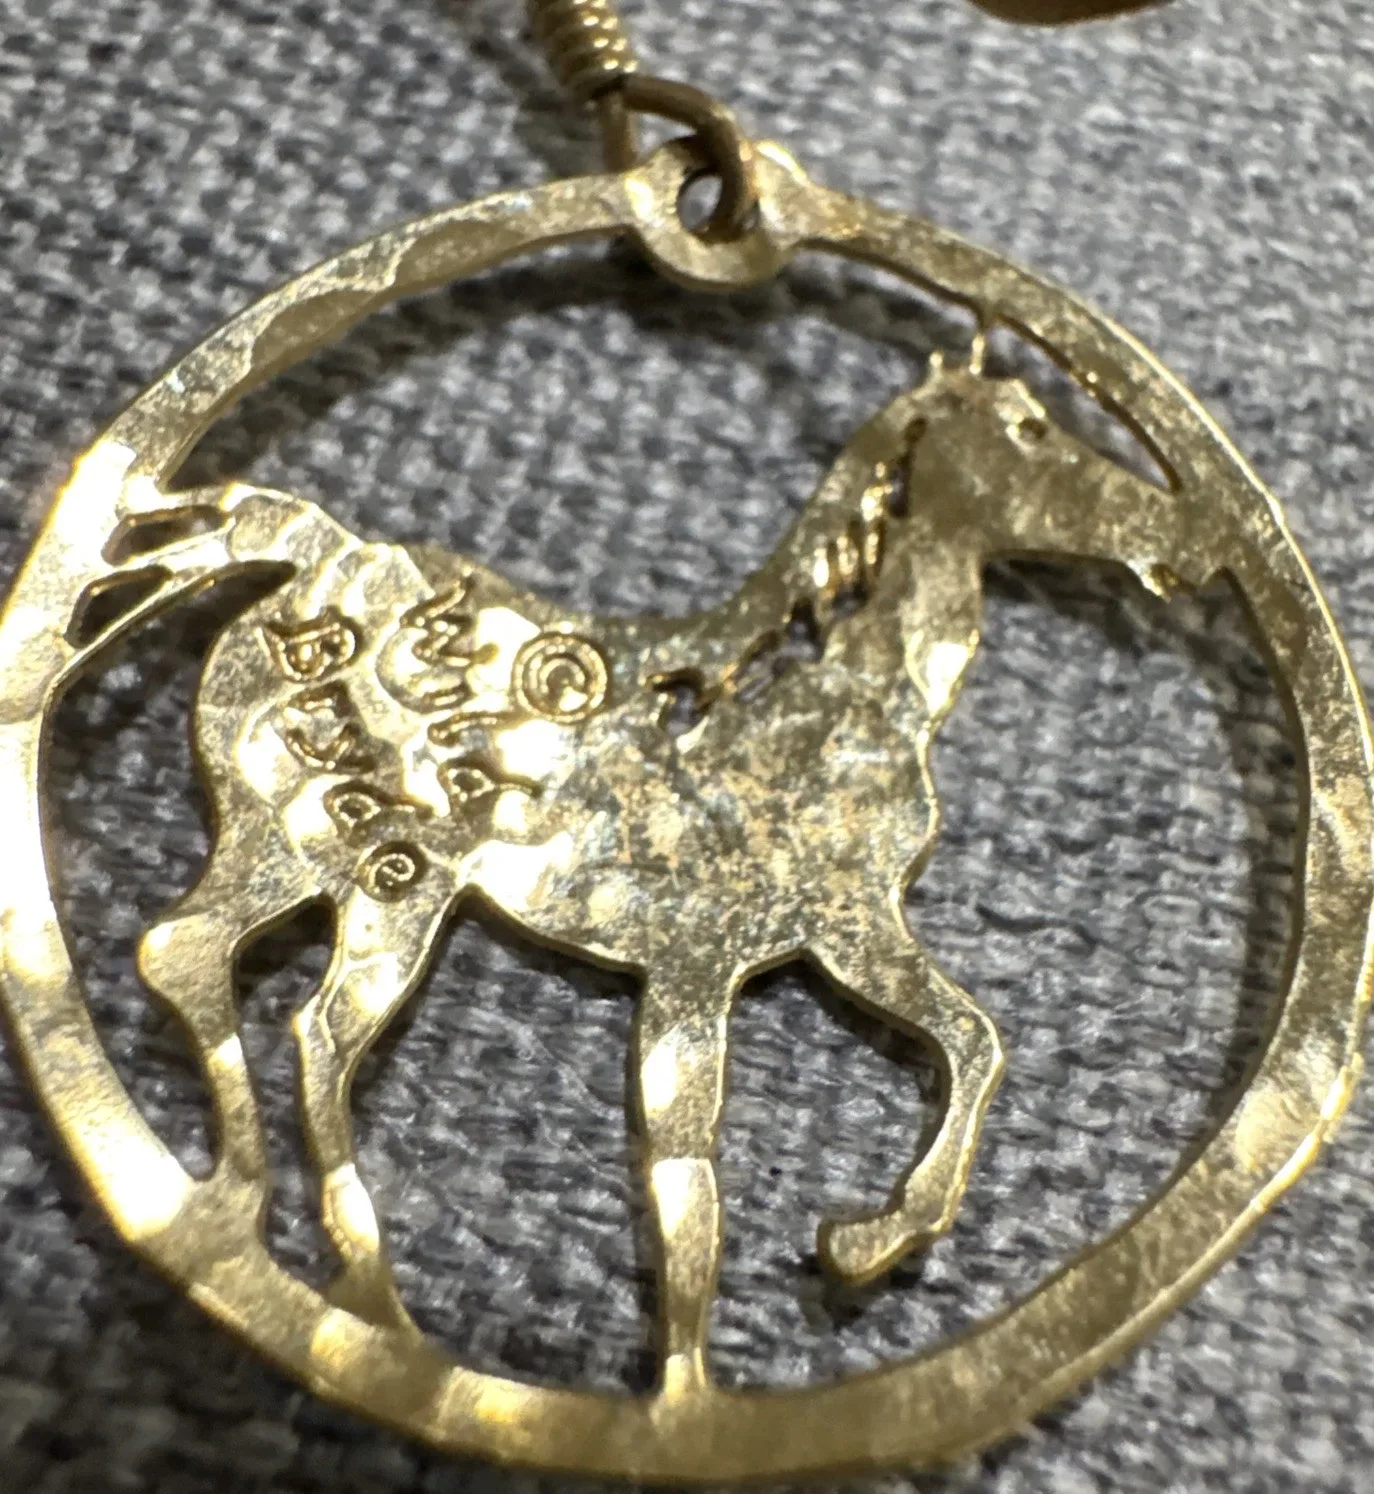
- Soak: Submerge the piece for 5–10 minutes in warm water mixed with a few drops of mild dish soap (Dawn works best).
- Agitate: Gently brush around internal cutouts and backings using an ultra-soft, worn-in toothbrush or a soft watercolor brush.
- Rinse & Dry: Rinse thoroughly in warm water and dry immediately with a lint-free microfiber cloth. Never let pieces air-dry, or mineral water spots will form.
- Abrasive Warning: Never use rotary polishing wheels or abrasive liquid polishes (like Brasso). Rotary tools strip thin plating in seconds, while harsh liquids leave a chalky white residue inside fine etched lines.
- Isopropyl alcohol: Avoid for general cleaning as it can undermine plating over time, though it can be carefully dabbed to remove stubborn gunk if needed.
Finish-Specific Care Instructions
1. Heavy Gold Plating over Brass
Standard gold-tone pieces feature a generous gold plating over a brass core. It is plating so has a risk of wearing off with friction, but is significantly thicker than the thin plating that quickly comes off of modern cheap imported jewelry, and it was in fact difficult for me to find visibly tarnished pieces.
- Evaluating Plating vs. Wear: Surface grime appears as a dull, uniform film that lifts in a warm soapy bath. Base metal exposure shows as warmer, duller, brassy patches at high-friction contact points (like top hanging loops or planished high points).
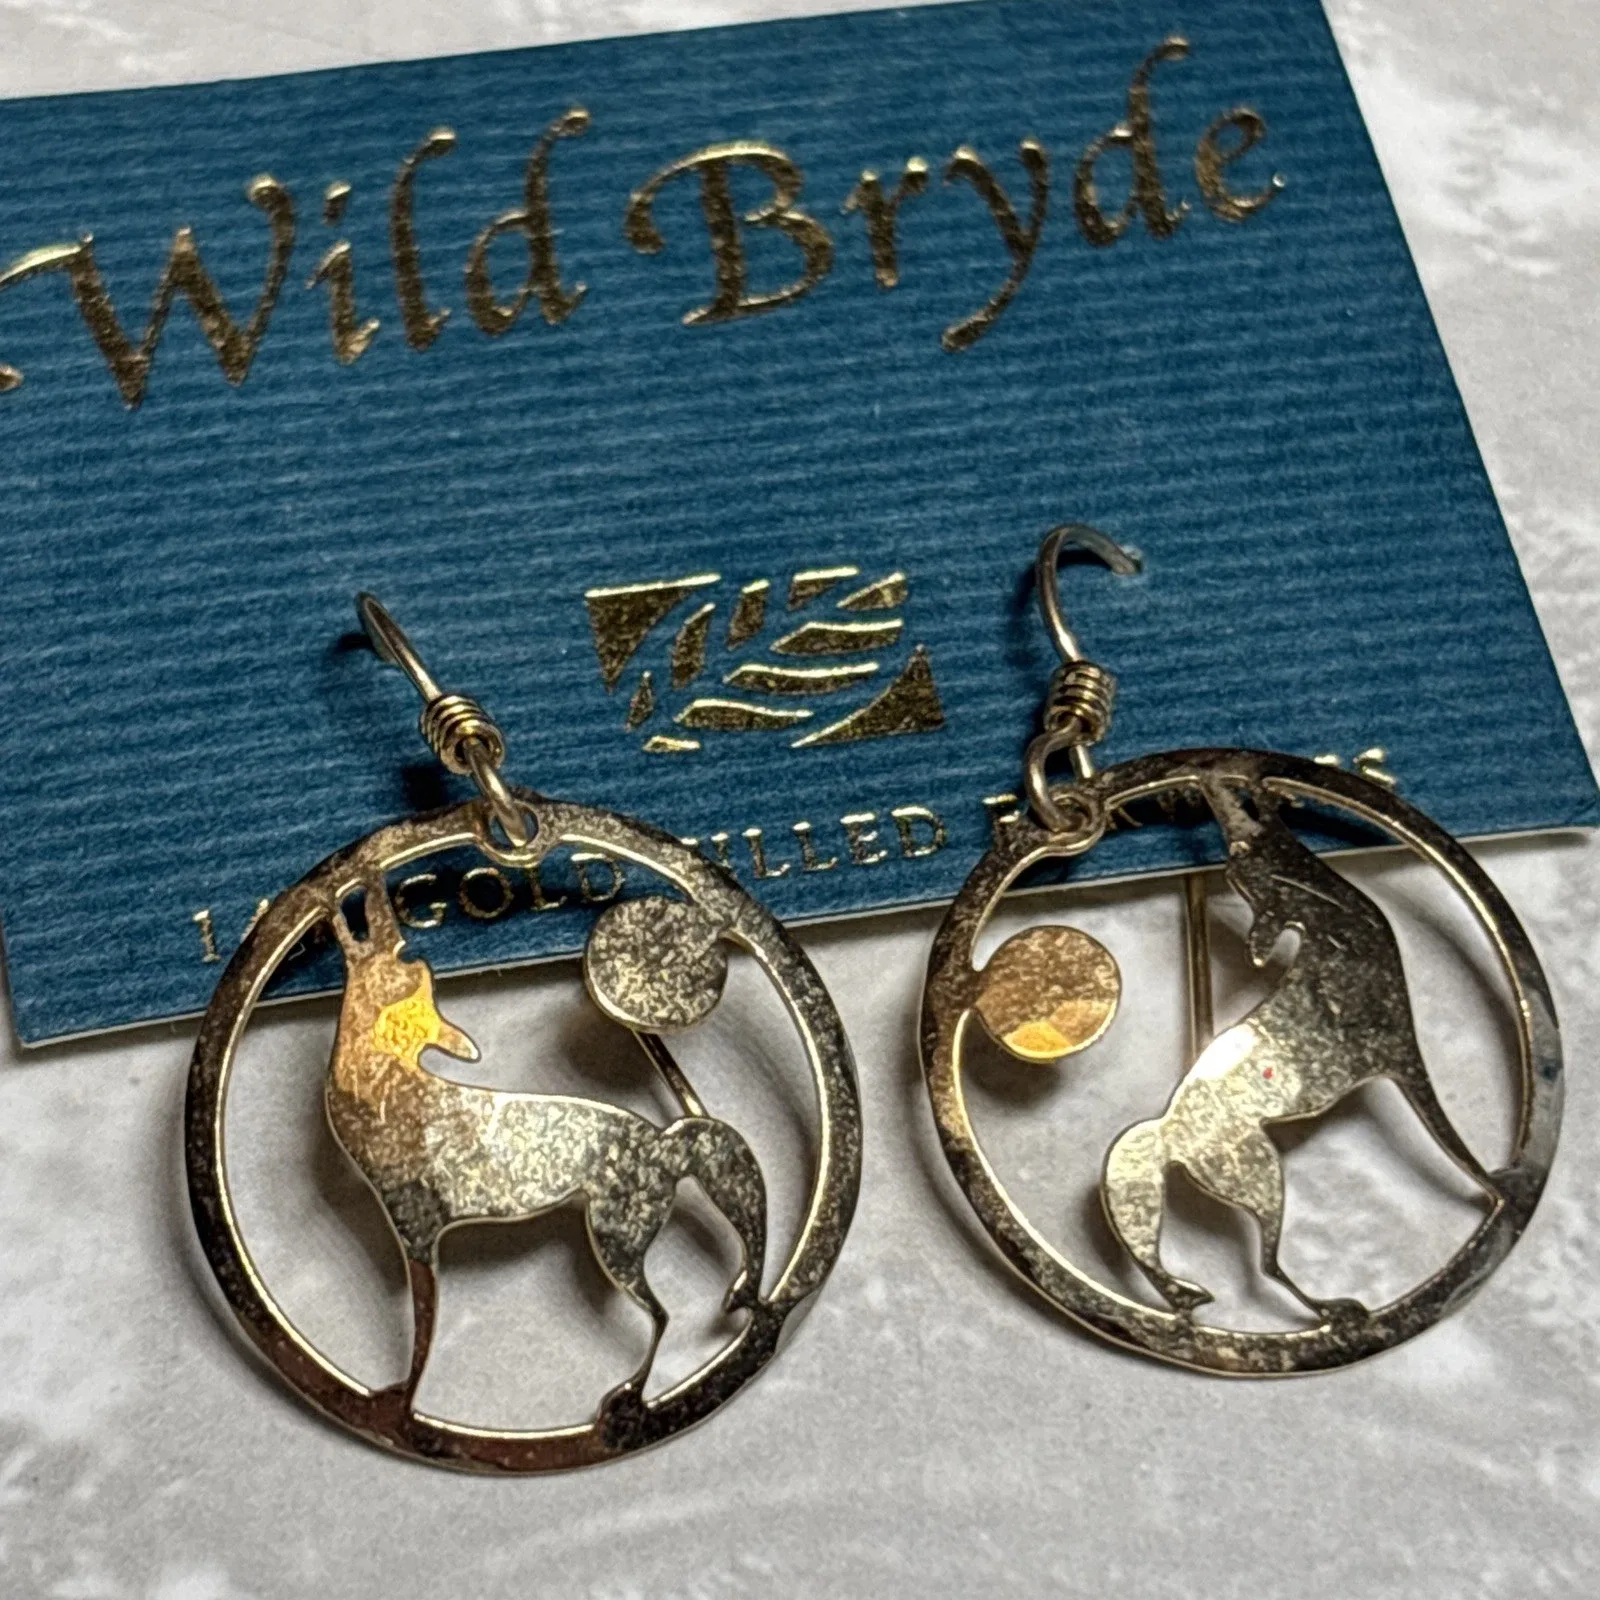
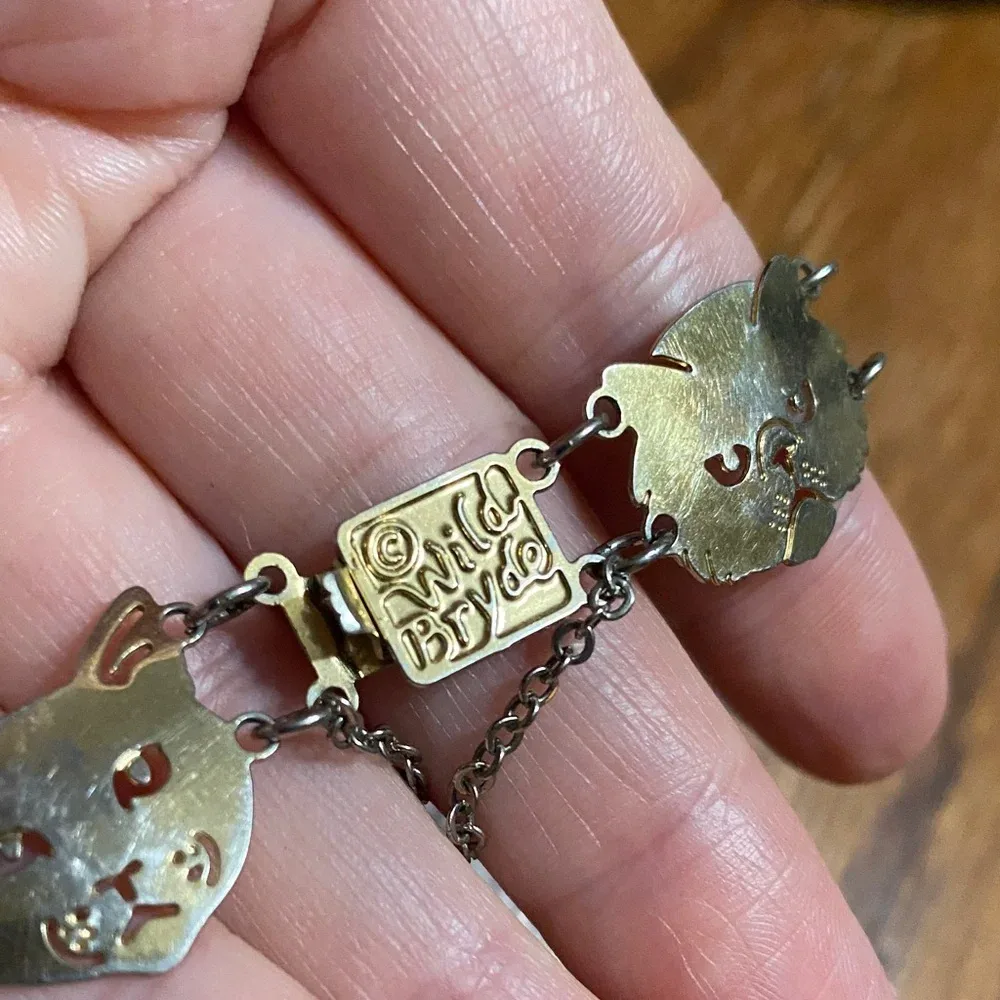
- Care Protocol: Never use abrasive polishes or polishing cloths. Stop if you see brassy patches at friction points—the gold plating is gone and cannot be washed back.
2. Rhodium Plating over Brass
Rhodium provides a bright, cool-toned silver finish that resists oxidation, but the layer is often thin over high-contact points.
- Evaluating Wear vs. Grime: Unlike sterling, rhodium does not oxidize to a dark sulfide layer; dark spots are either grime or exposed brass. Check under a loupe for yellow or warm brassy tones showing through the cool silver.
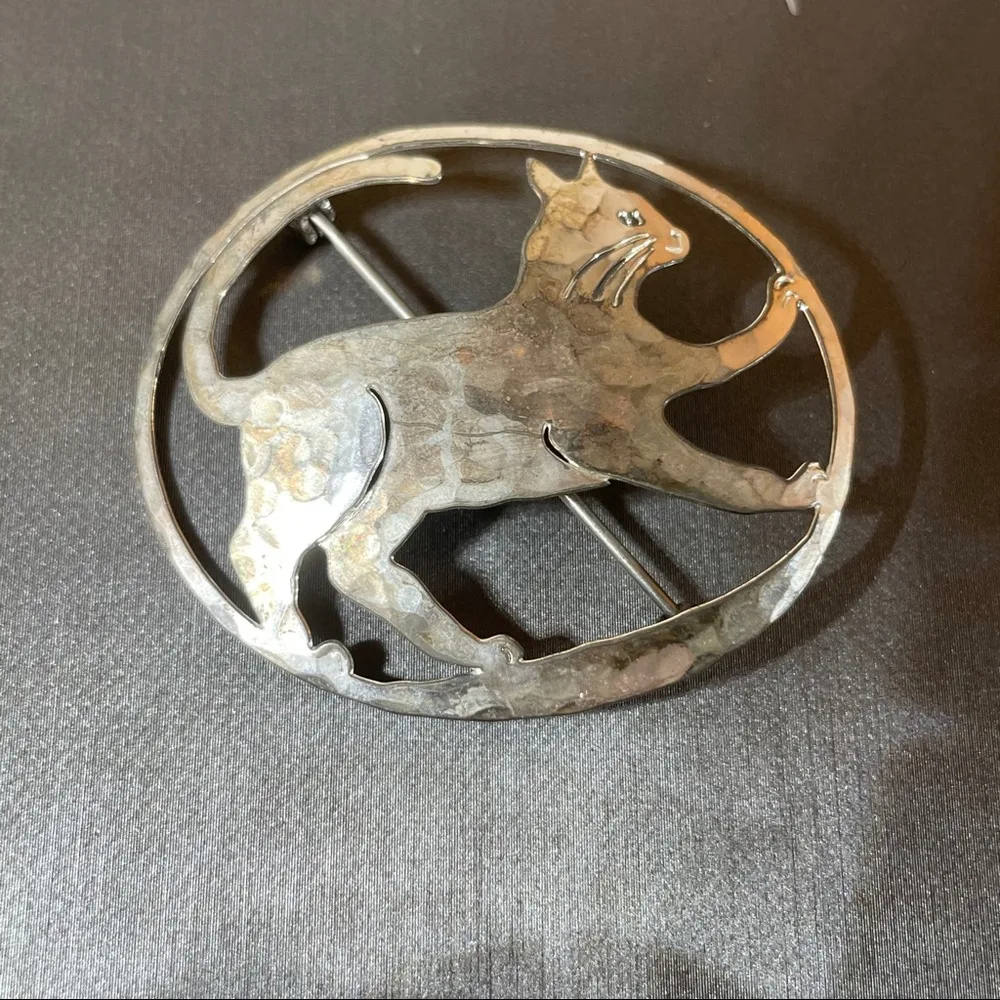
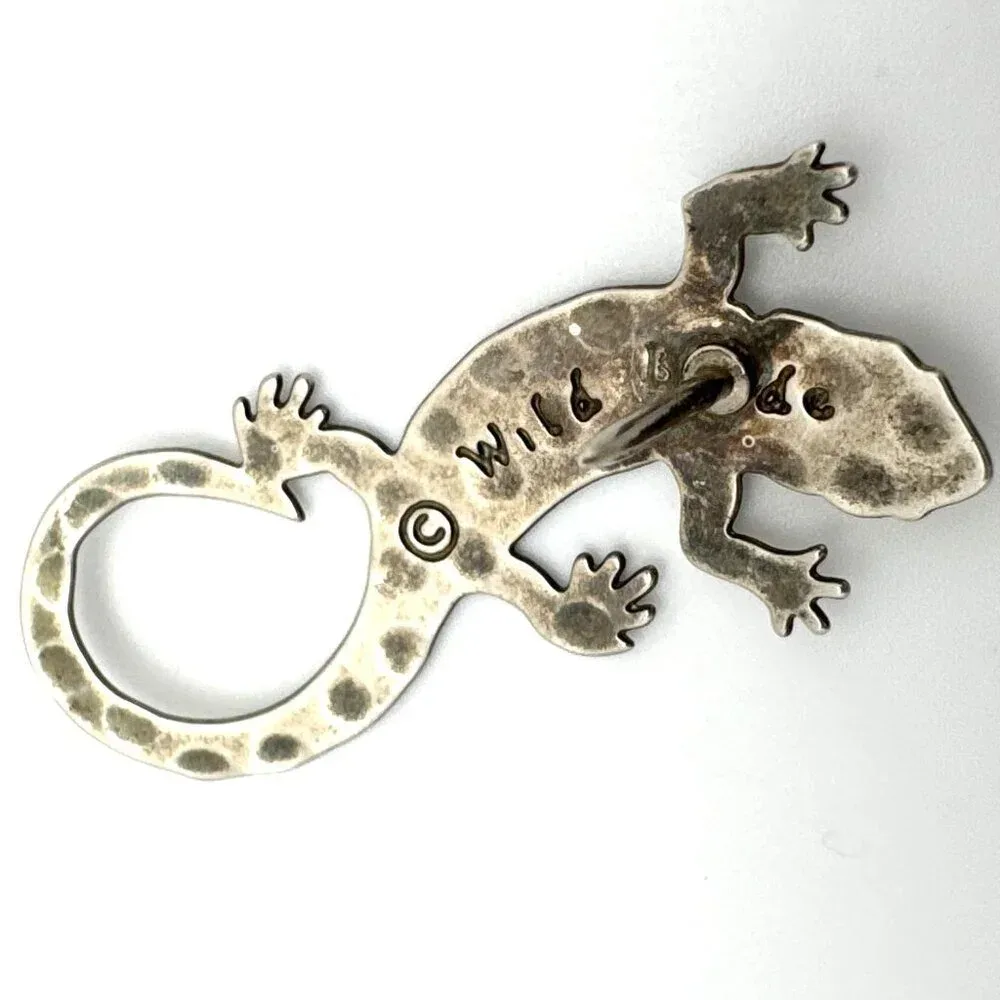
- Care Protocol: Treat rhodium with extra delicate care. Avoid hot water or prolonged soaks. Use a soft watercolor brush rather than a toothbrush to lift surface oils without micro-abrading the finish. If yellow brass shows through, stop immediately.
3. Solid Sterling Silver
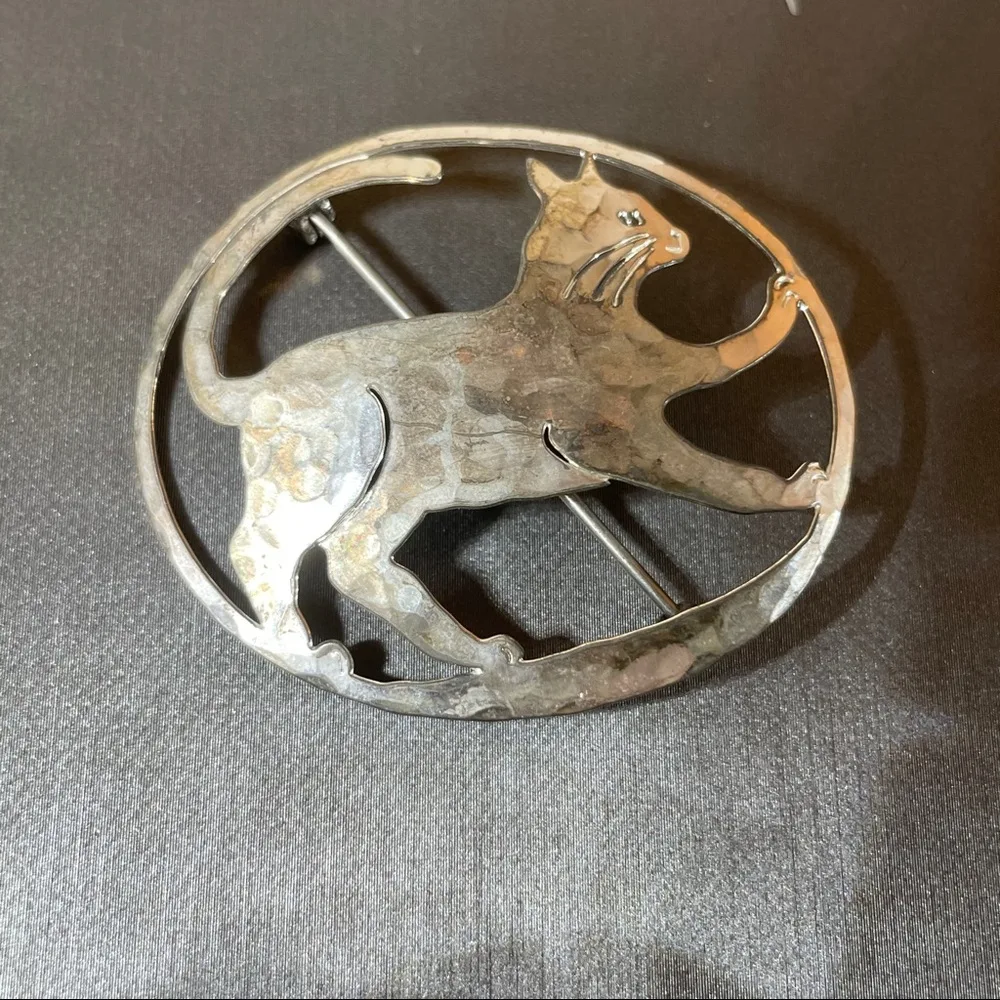
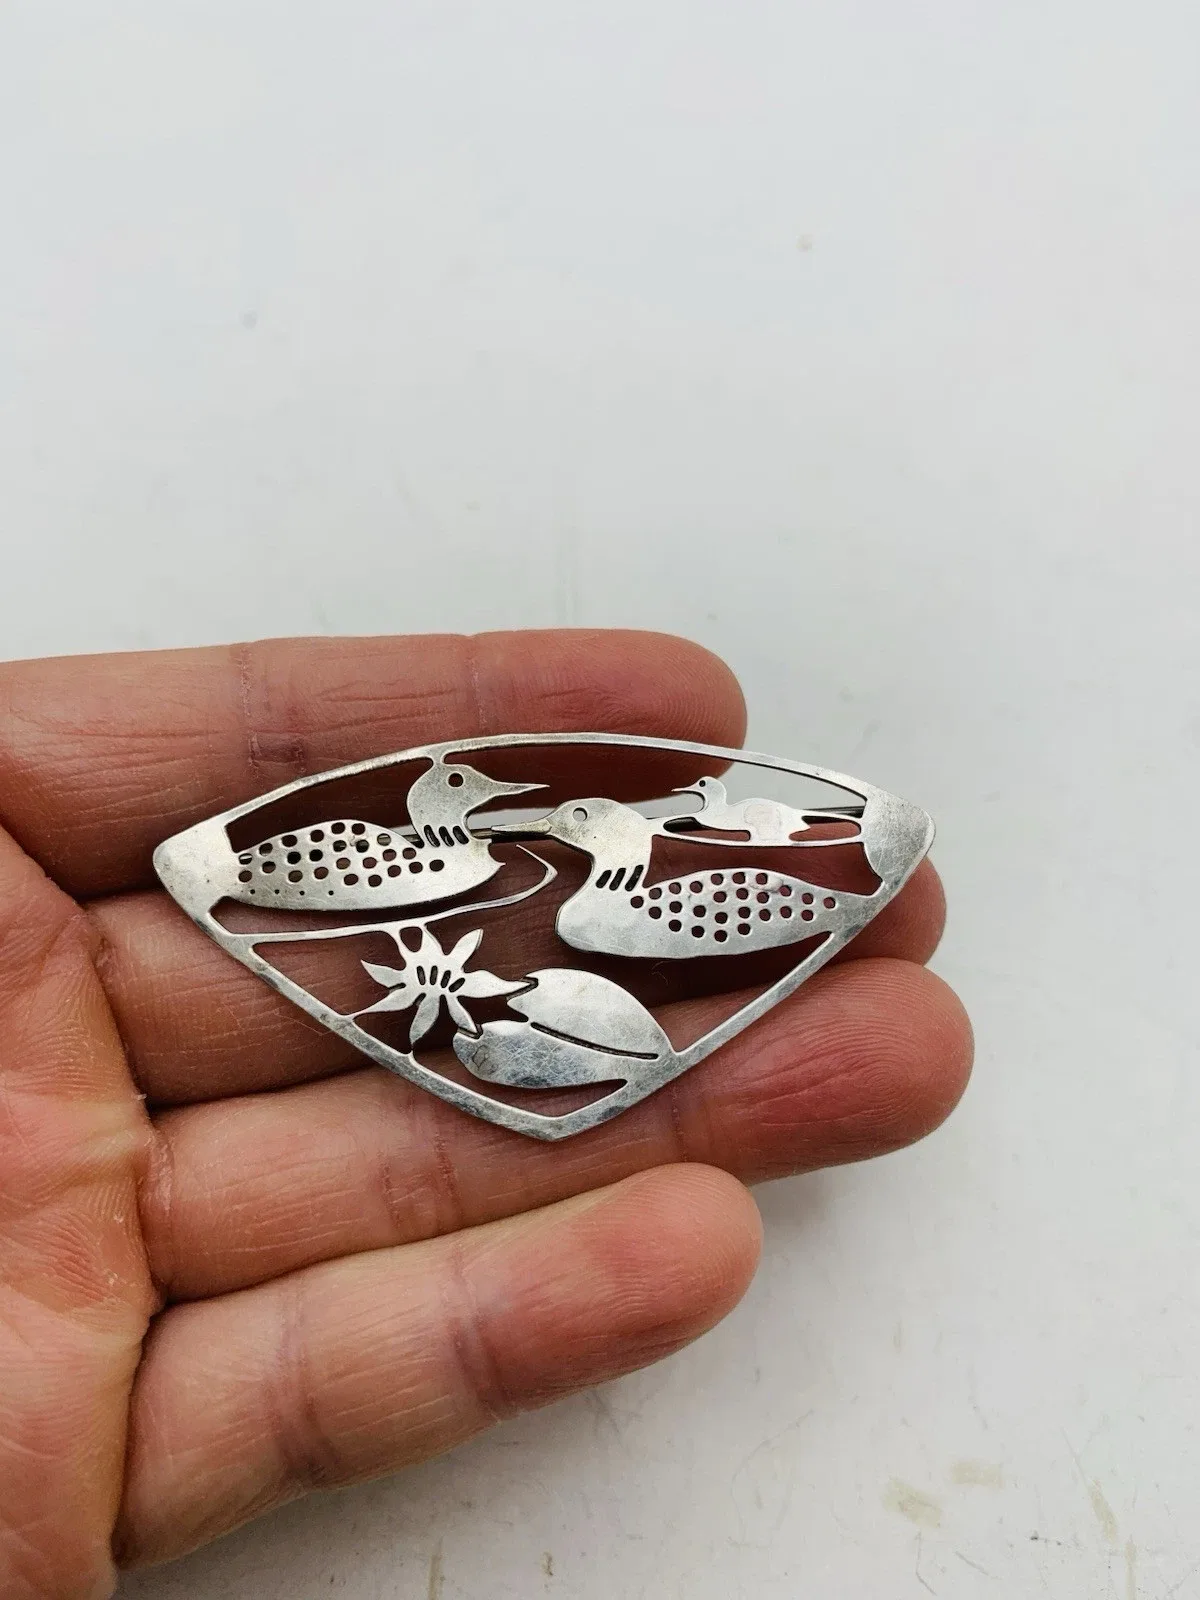
Solid sterling can be restored repeatedly without fear of wearing through a base metal layer. However, being too aggressive could take down the beautiful, faceted effect from Mike Warner's hand-planishing of each piece.
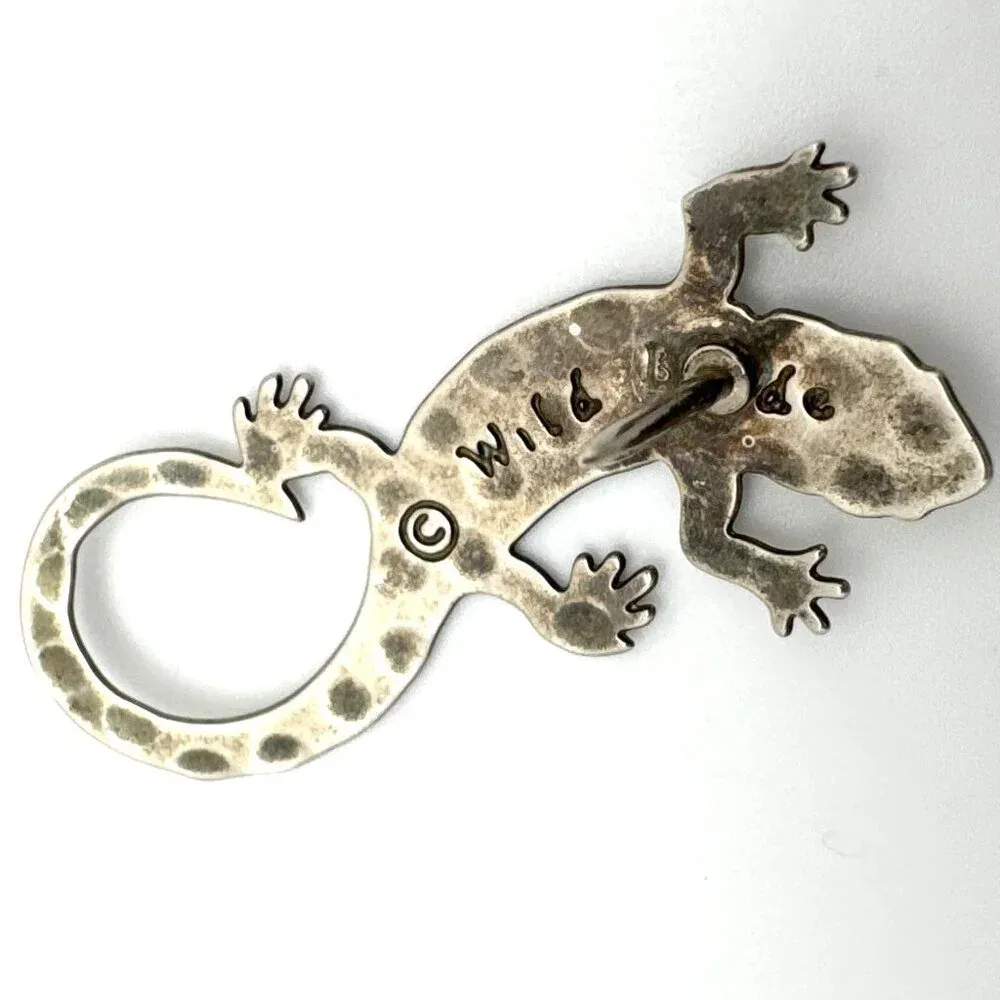
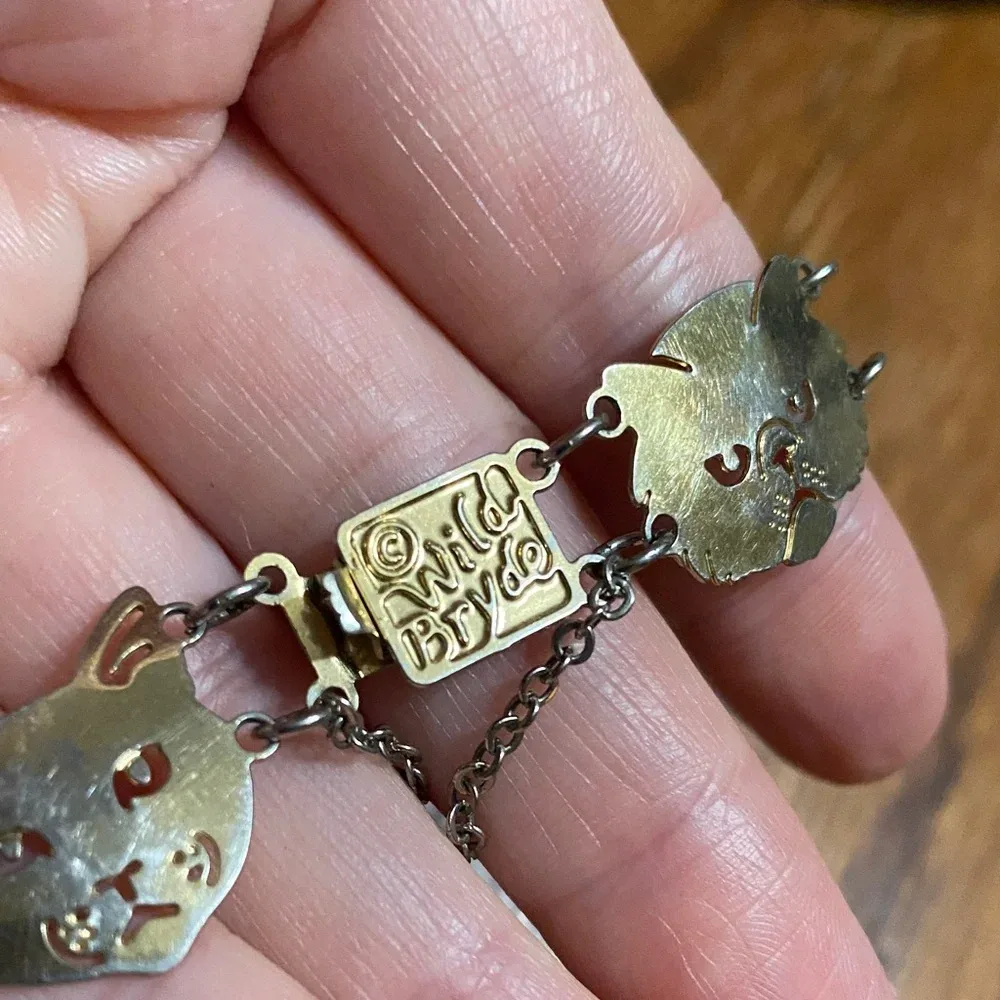
- Identifying Sterling: Always verify `.925` or script `STERLING` hallmarks on the back panel, hanging tag, or ear wire loop under a loupe before treating. Wild Bryde usually used a script font "Sterling" stamp.
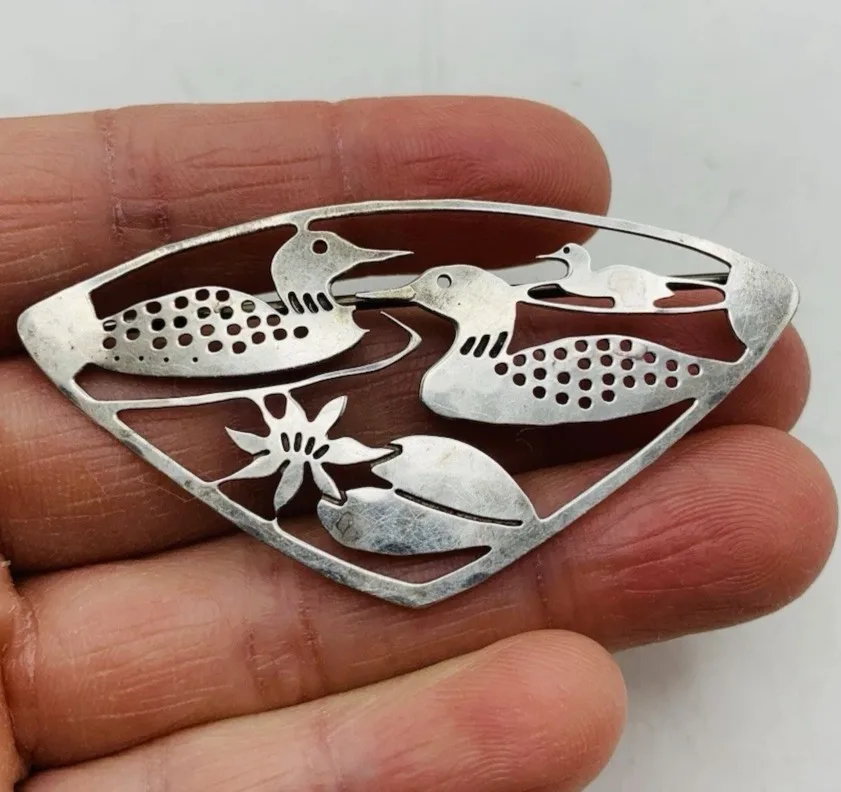
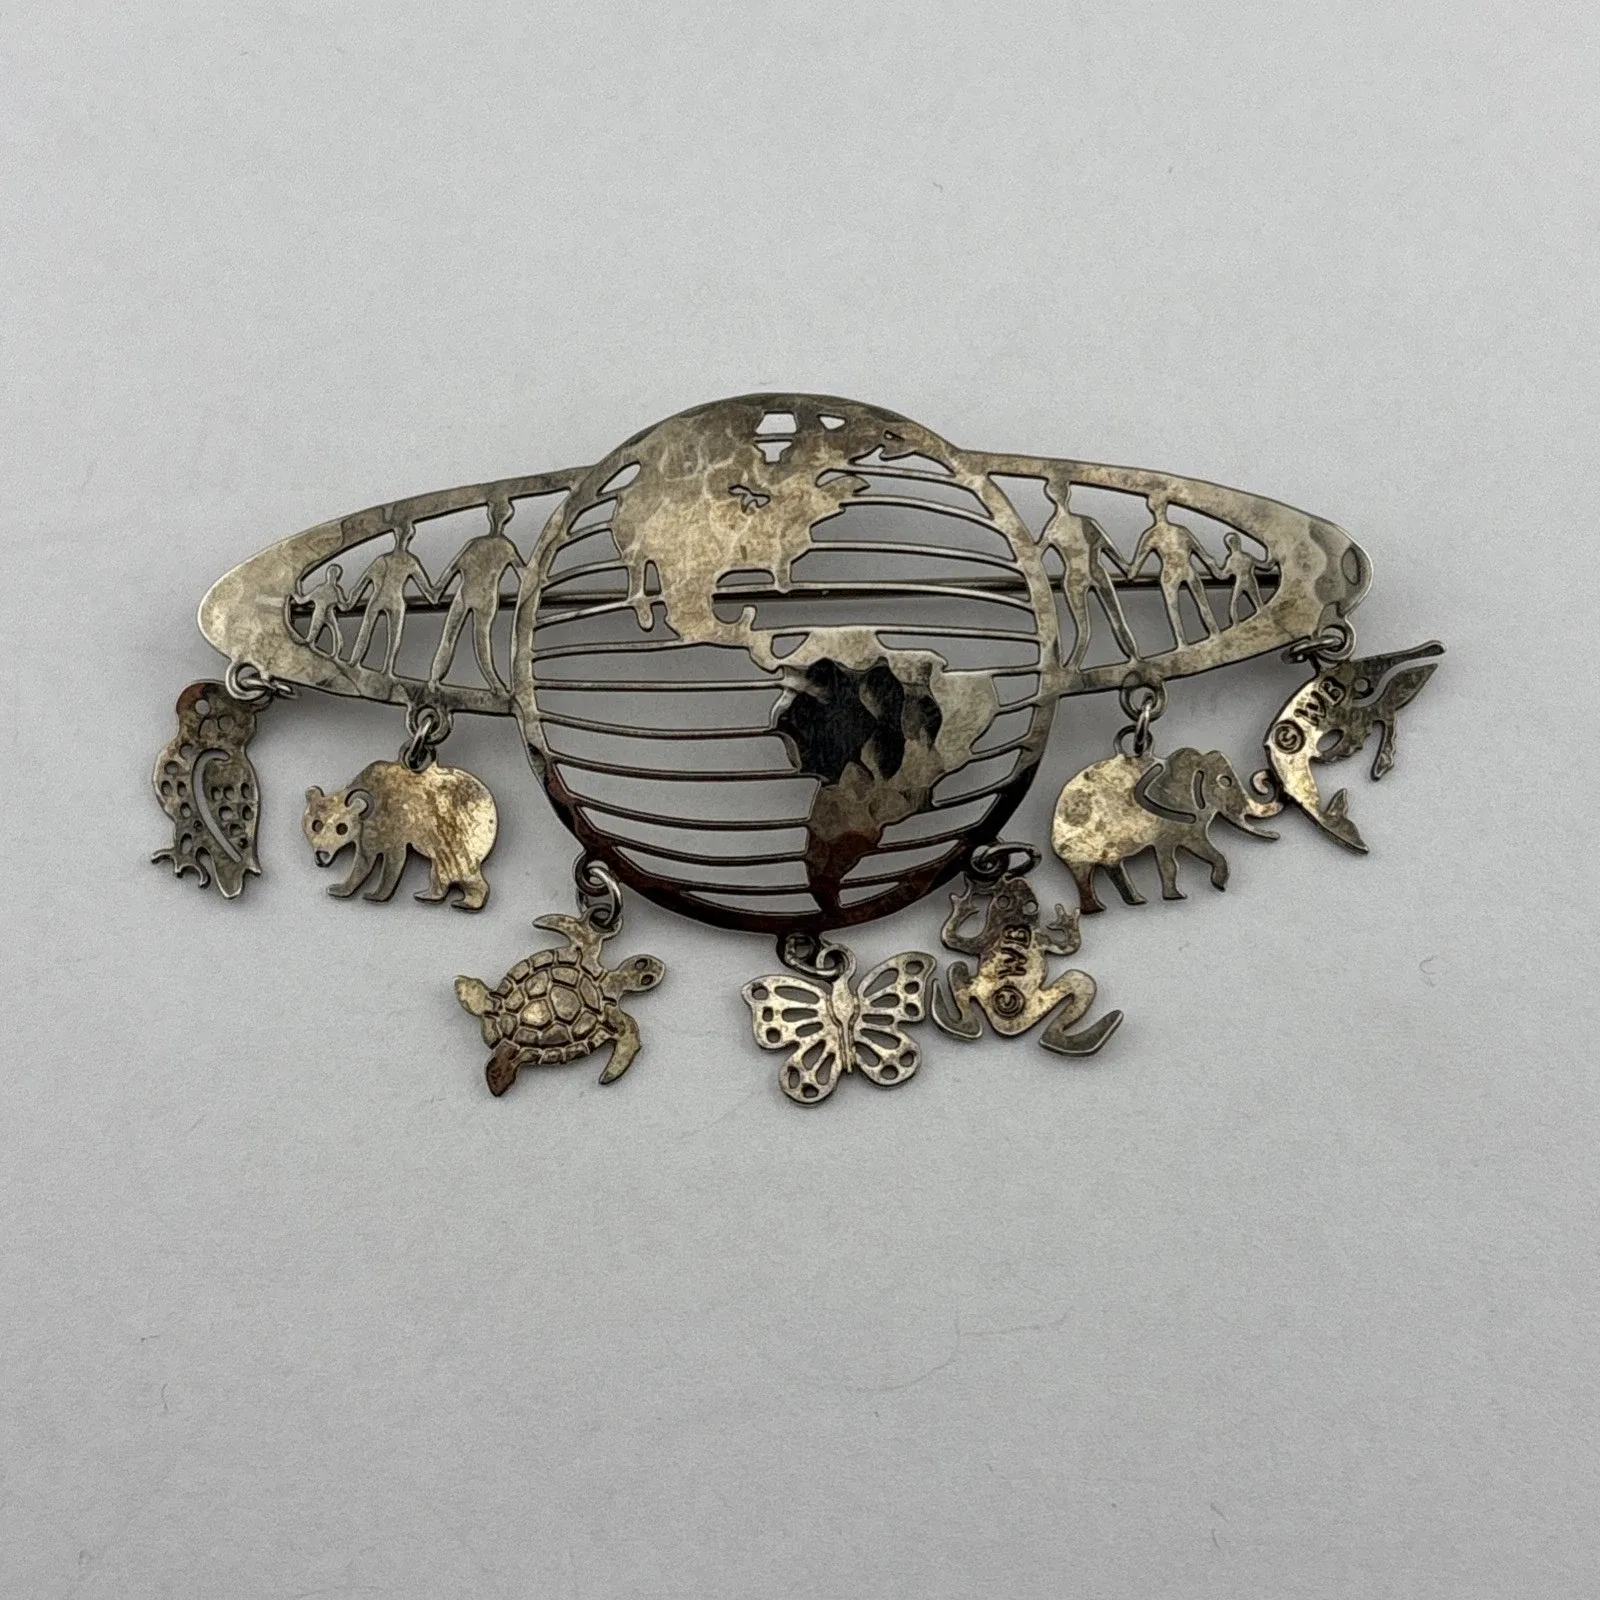
- Care Protocol: Dark sulfide tarnish is reversible surface-level oxidation. Submerge the piece in a liquid silver dip bath for just 2–3 seconds followed by an immediate rinse in running water. Avoid heavy mechanical rubbing that could dull planished facets, like polishing cloths.
The Nuclear Option
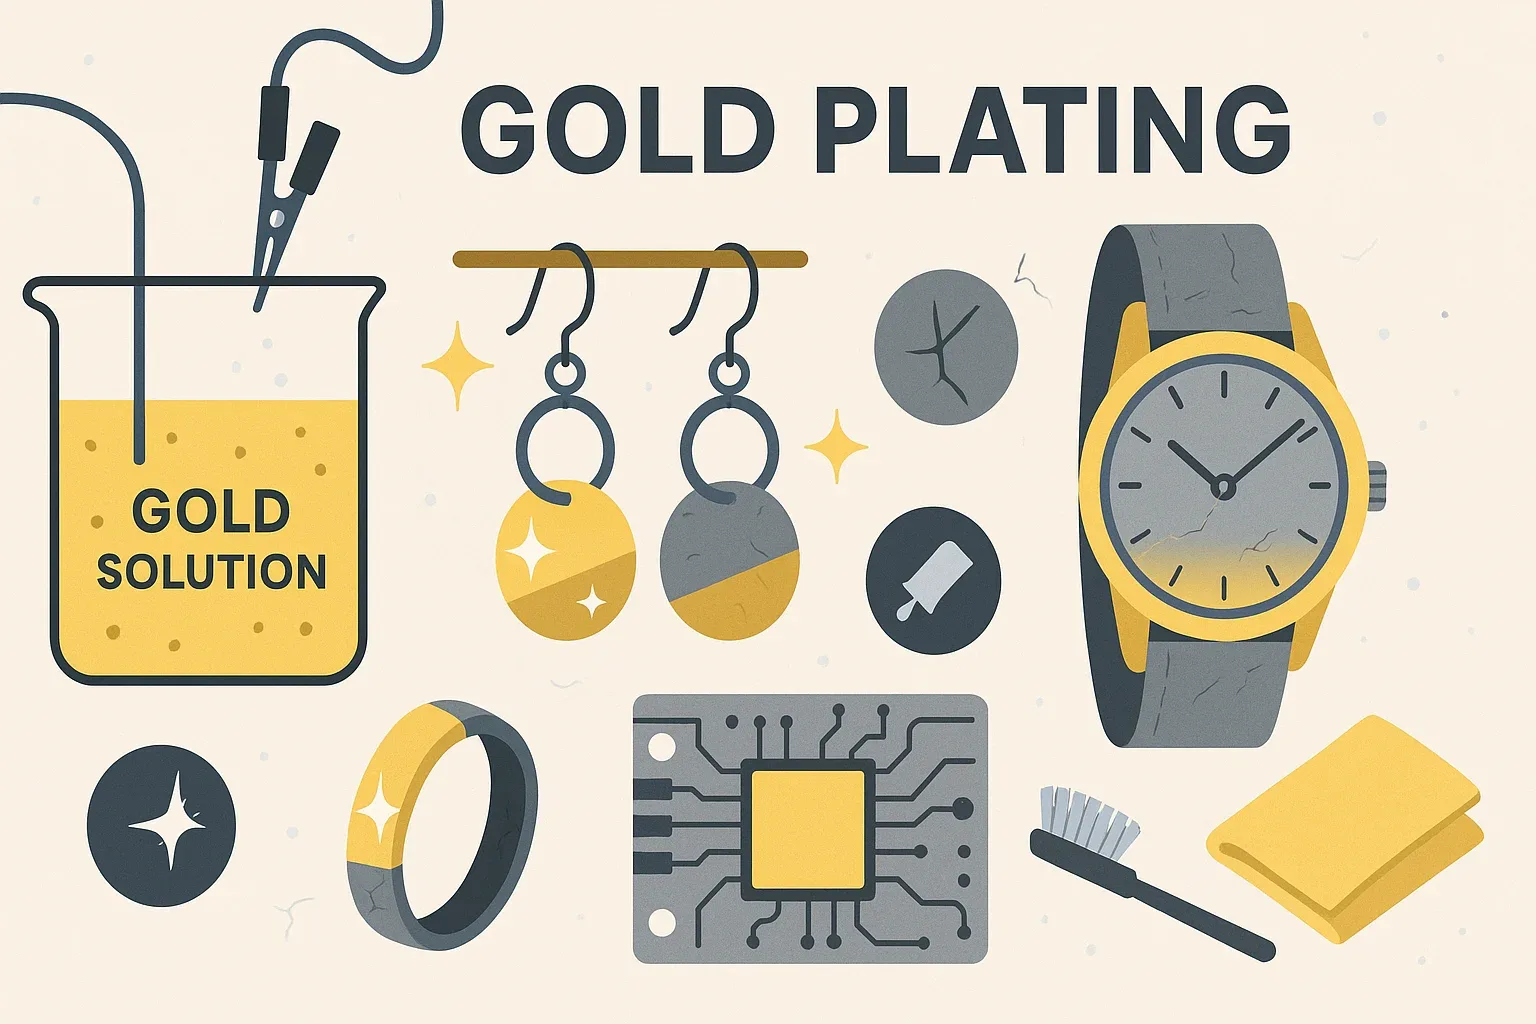
Replating is always an option for a piece that you're deeply in love with, if you can't find an un-tarnished version on the market over time. Talk to your local independent jeweler or reach out directly to plating houses - most have minimum batches around $250, for which you could replate a decent-sized collection, or go in with a friend.
What to Do About Corroded or Worn Ear Wires
If ear wires are heavily oxidized, corroded, or rough, don't clean corroded wires; unloop and replace them with fresh hypoallergenic hardware.
Because ear wires sit directly in sensitive skin and absorb skin acids, trying to polish corroded vintage wires strips what little plating remains, exposing raw brass that causes skin irritation or allergic reactions.
The best approach:
- Open the connecting jump ring or loop using smooth flat-nose pliers.
- Unloop and remove the old, worn ear wire.
- Replace it with a fresh, hypoallergenic gold-filled, sterling silver, or high-quality plated ear wire.
- Repeat for the matching earring.
Replacing a few dollars' worth of hardware restores the piece to comfortable, wearable condition immediately without risking damage to the main artwork. Hope this helps you confidently take care of your vintage pieces for decades to come!